"Art washes away from the soul the dust of everyday life." - Picasso
Saturday, December 17, 2011
Let There Be Tree...
Of course if you look very carefully, the tree is not alone... Here's another view showing my fabric approval department encamped under the tree:
This is Pan (short for Pandora)... she has always loved fabric and has to approve all fabrics brought into the house. She adopted our purple velvet tree skirt the very first year we got it - about 1995 or so... and still loves it to this day. She obviously approves of the fact that we set up the tree this year.
Thank you to all who encouraged me to do this... it is so nice to see it twinkling over by the stairs while we sit here and sip tea and watch 'Philadelphia Story' tonight. Gotta love these old movies on TCM.
Only thing missing is some hand sewing to make it complete... I think I'll get off the computer now and work on some more hexies while I watch!
Tuesday, December 13, 2011
Hexagon Quilt Tutorial
First you need templates. Mine are 5 1/8" for the large hexagon and 3 1/2" for the smaller one. You can draft these yourself if you want, but I can send you a .pdf file with the exact size templates. Just email me at quiltabeast at roadrunner dot com (replace the at with @ and the dot with a period and you'll reach me). The templates will look like this
![]() |
| Paper templates |
My husband was kind enough to cut me some templates from thick plastic, but even thin plastic templates or just the paper templates would work
![]() |
| My templates |
Use the small template to cut your focus fabric. This can be anything. I'm doing mine with fussy cut cats, but I've seen this done with Christmas fabrics (how timely), fall fabrics, florals and it is simply elegant done in Asian prints - pick your favorite or just whatever you have scraps of lying around - Scrappy works too!
You will also need to use the small template to cut a hexagon of batting.
![]() | ||
| Components of one hexagon block |
![]() | ||
| Large hex and batting hex layered |
At this point, I like to pin the three layers together by using a single pin in the center of the hexagons. This keeps the small hexagons centered on the large one while you fold the binding edges over. I start with a single fold bringing the edge of the large hexagon just to the edge of the small hexagon...
![]() | |
| first fold |
![]() |
| second fold |
![]() | |
| three sides pinned |
![]() | |
| All sides pinned, ready for hand stitching. |
Once the binding is sewn down all the way around, you can quilt as desired. I know since it is, until now, all hand sewn, maybe it should be hand-quilted too. But I'm a machine quilter. I've tried hand-quilting and it's just not for me. I have seen them done both ways and they look great no matter how you do them. Whether by hand or machine, I would quilt about 1/4" inside the binding edge as show below:
Once they are quilted, you can whipstitch them together to make anything you'd like - They make great placemats, tablerunners, tabletoppers, lap quilts. I'm working my way up to a king sized bed quilt. Not sure if I'll ever get there... I may end up with a lapquilt myself.
![]() |
| 30 hexes put together |
What I really love about these is that they make a great take-along project - you can work on them anywhere. They are small, easy to transport, and all you need to bring along is needle and thread, especially if you pin some in advance to bring along on a trip or anywhere you'd have to wait like the doctor's office. Once they are done... they are quilted and bound! When you have connected them, the quilt is done! No sending out to a longarmer... no binding to do... it's DONE! And they are fun to make!
Just wanted to add that the quilt project is finally done, 17 years after I started it! The final quilt fits my California king bed, took 900 hexagons to complete. (I do have about 75 left over for some mug rugs for our nightstands). There are no repeats in any of the fussy-cut cat hexagons, though the same fabric was used multiple times in a few instances. I may make more of these hexagons in the future for small projects, will probably not make another king, lol.
Please don't hesitate to email me for the .pdf of the templates - quiltabeast at roadrunner dot com (Just leave out the spaces and use @ and . where appropriate.
Hope you enjoyed the tutorial. If there are any mistakes, please let me know so I can fix it asap. Thanks, and thanks for dropping by.
Merry merry holiday season to you all.
Sunday, December 11, 2011
To Tree or Not to Tree...
We bought this year's Star Trek and Star Wars ornaments from Hallmark - we have every year's ornaments except to the very first Star Trek one. We have so many of them now that we alternate years between the franchises. One year we do Star Wars, the next year we do Star Trek and then back again.
But this year it just seems so pointless to put up all the decorations without family to share them with. The two of us can just put the presents on the top of the piano without a tree. Somehow that seems kind of dull, but where to get the energy to set up the tree?
I think I need to consider this further.
On the quilting front, I made a bunch of new fabric postcards and mailed them out last week before the holidays. And I have gotten back to work on my hexagon quilt.
I make two hexagons of fabric - one 5" across, one 3.5" across, and a 3.5" hexagon cut from batting... layer them large hexagon wrong side up, center the batting on top of that, and then put the 3.5" piece of fabric on top of the batting right side up. Then I double fold the large hexagon over the small one and hand sew the edge like binding. This makes a small hexagon shaped layered quilt block. (Want to see pictures of this process? please drop me a comment if you'd like me to make a tutorial with pictures showing how to make these)
When I have enough of them, I will slip stitch them all together to make a quilt - so far I have about 300 of them.... haven't decided how many I want to do to make a finished quilt.
I figure it will take about 1225 of them to make a king sized quilt that will fit my bed... Do I actually want to make that many of these little gems? I'm not sure... I am fussy cutting them all out of cat fabrics and I was hoping to make each one unique. I AM sure I don't have 1225 different cat fabrics in my stash. Now my stash of cat fabrics that I collect is pretty vast, but it's not that big. I may have to reconsider my methodology or numbers. Maybe a lap quilt would be better, LOL.
Sunday, December 4, 2011
WAYWO Sunday
I also finished up the sashing on my horse quilt. It is a Buggy Barn design, and the horses need buttons for eyes yet, but I have to finish up the border on this one too - but I ran out of grass fabric, I'll have to find something else for the border...
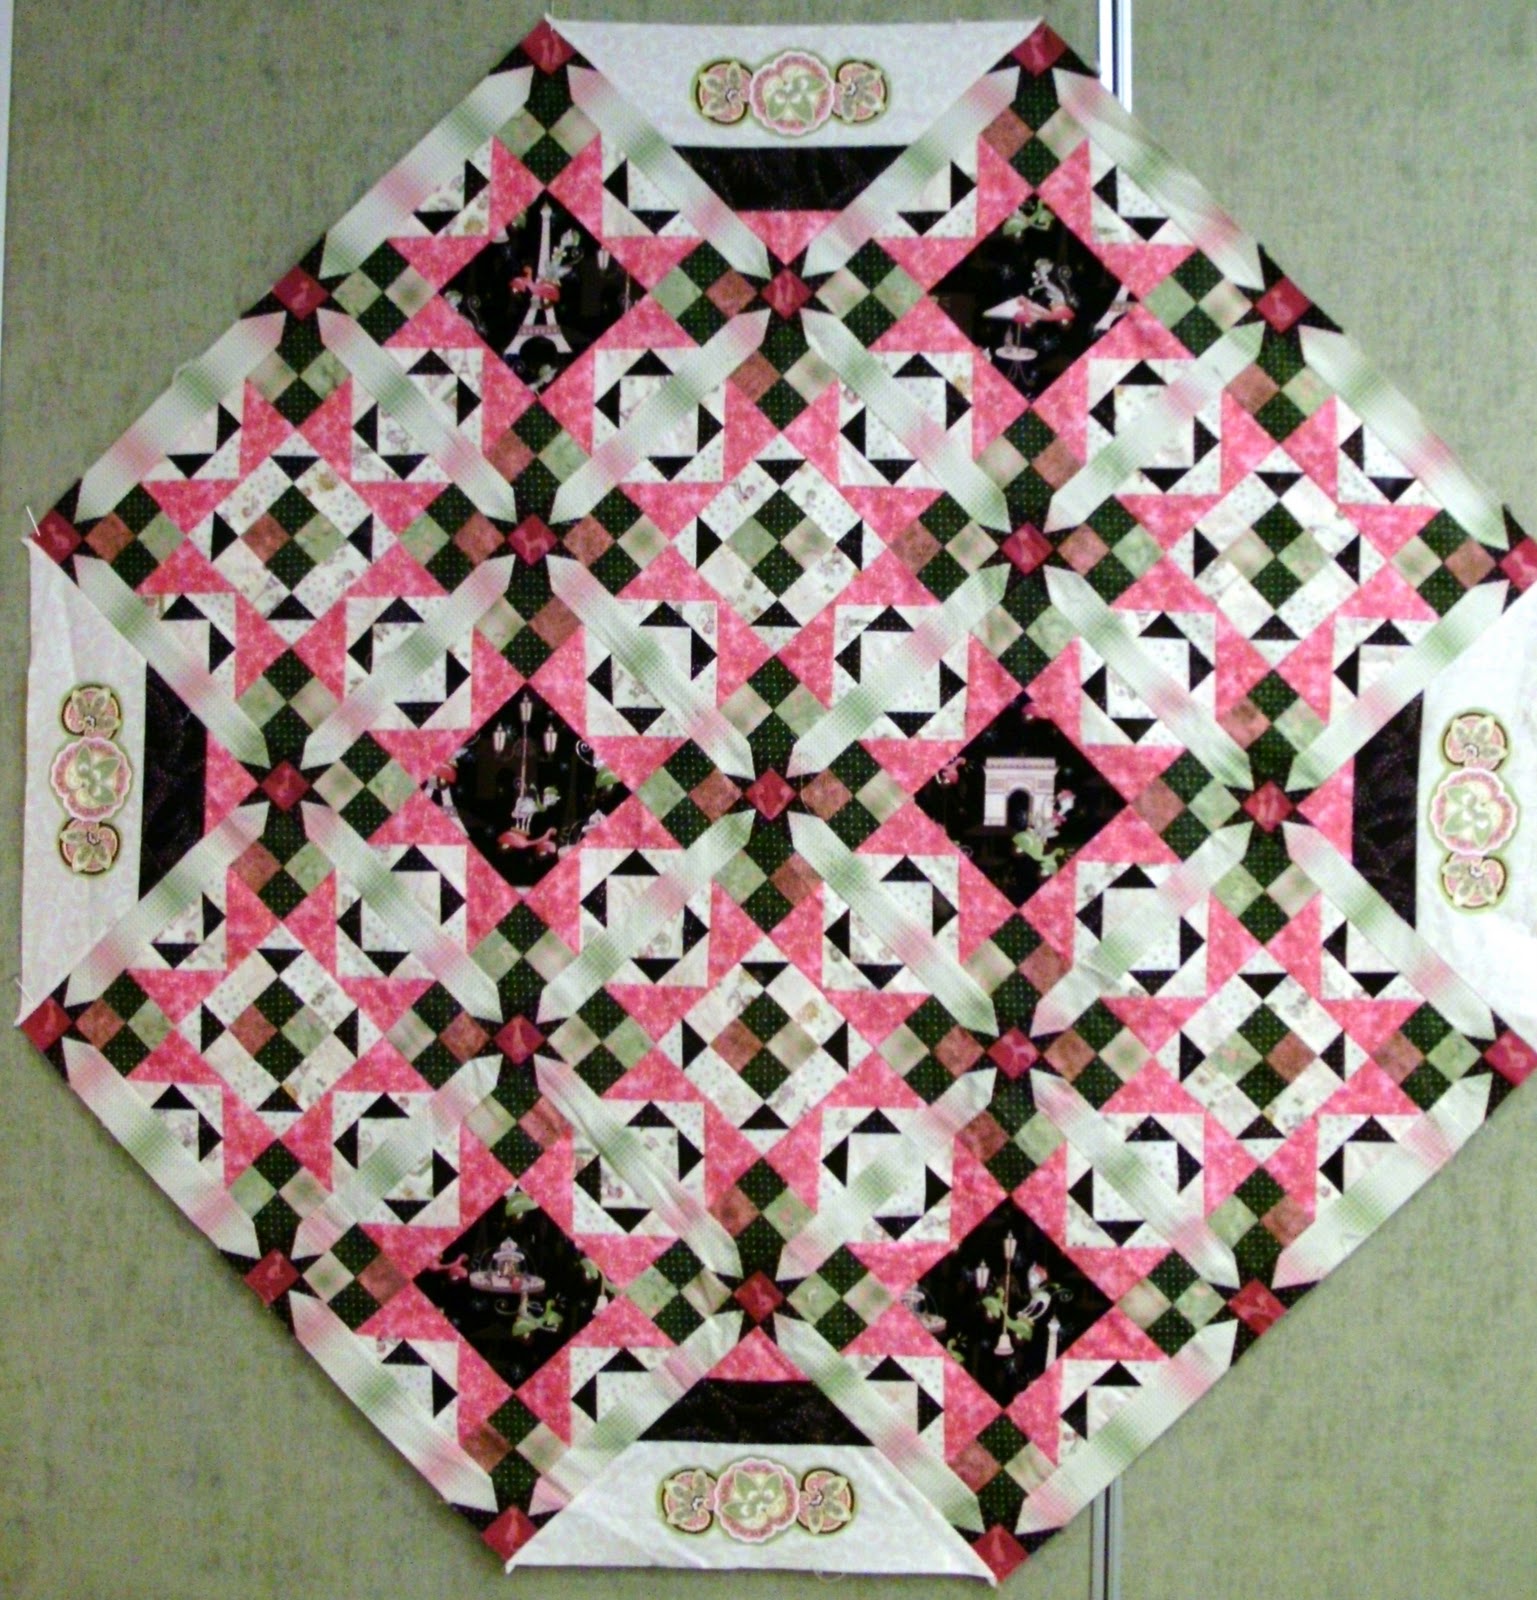
I also finished up Paris Cats - The applique is on, and the quilt is ready for quilting... I even made a back for it - just have to get in there and quilt it!
And another Buggy Barn design... this one based on their 'Crazy Rays' but done in RW&B. I was hoping to donate it to quilts of valor, but I need to find someone who will quilt it for them, as I've kinda lost interest in finishing it. We'll see... If I can't find someone, maybe I'll find the enthusiasm to do it myself sometime in the future.
And lastly, this weekend, I made 8 fabric postcards. I made my first postcard snowglobes this weekend - It took a little work to make the snowglobe part - some vinyl, careful stitching and some seed beads for the 'snow'. They actually came out kinda cute. And I got so excited over the success with the snowglobes that I forgot to put fabric on the backs of 5 of the postcards before I did the edge-stitching on them. Whoops! So I added backs and just did a straight stitch about 1/8" in from the edge to hold the backs in place... Hope they hold up.
At least I did something creative this weekend... otherwise it would have been a total waste - I spent most of the weekend watching movies on TCM and AMC... They were showing old westerns, romantic comedies and musicals... I couldn't resist. I really need to turn off the TV and do more creative things with fiber... Maybe I have too many passions... sigh
Sunday, November 20, 2011
What to do with all those flying geese?
Well, lately I've been making geese for quilt me and some friends are making as a block exchange project. My two blocks in the exchange are both comprised of flying geese. The first one is just rows of little 1x2 inch geese. I had to make 6 of the blocks, with 18 geese in each block, that means I had to make 108 geese to make this one block six times:
The second set of geese were a little larger to make a flying dutchman block, one of my favorite blocks of all time:
I think maybe I should have had the green and purple be a little further apart in value, because they both look almost black in the photo, but really, the purple geese form a pinwheel int he center and the other geese are dark green. As with the other one, I had to make 6 blocks, so a lot of geese between the two.
Anyway - that's what I've done with the most recent sets of geese that I've made, all using the no-waste method I wrote a tutorial for in my last post.
You can see the whole quilt 'Ryokan' at http://thimblecreek.com/details.php?prodId=2000&category=240&secondary=114&keywords= - it is a charming quilt. It's also in issues 85 and 86 of Quiltmania Magazine, which is where I first found it.
I do want to clarify something - I want to make it clear that I didn't invent that method, I was merely passing it along to anyone who hadn't seen it before, or trying to make it easy to do for someone who might have been confused by a previous tutorial. I'm not sure any one person can claim the method as their own invention. It is simply 'out there' in the world of quilting and I am just one more person making sure the word gets spread.
Wednesday, November 16, 2011
Perfect Flying Geese - A Tutorial
First, you need to determine the finished size of your geese. Flying geese always finish at width = height x 2. So if your geese finish up at 2" high, they will be 4" wide. That part is pretty simple. To make perfect flying geese, here's where the math comes in.
Step one: Cutting your fabric.
You need one square of your geese fabric that is Width +1 1/4". So keeping with our example above of 2x4" geese, you will need one square of 4 + 1 1/4" = 5 1/4" square.
You need four squares of your sky fabric that are Height + 7/8". Again keeping with our example of 2x4" geese, you will need four squares of 2 + 7/8" = 2 7/8" square.
Your components will look like this. (By the way, that's the hardest part, the math, and it's all done...)
Step two: Draw a single diagonal line on the back of each of the small 'sky' squares:
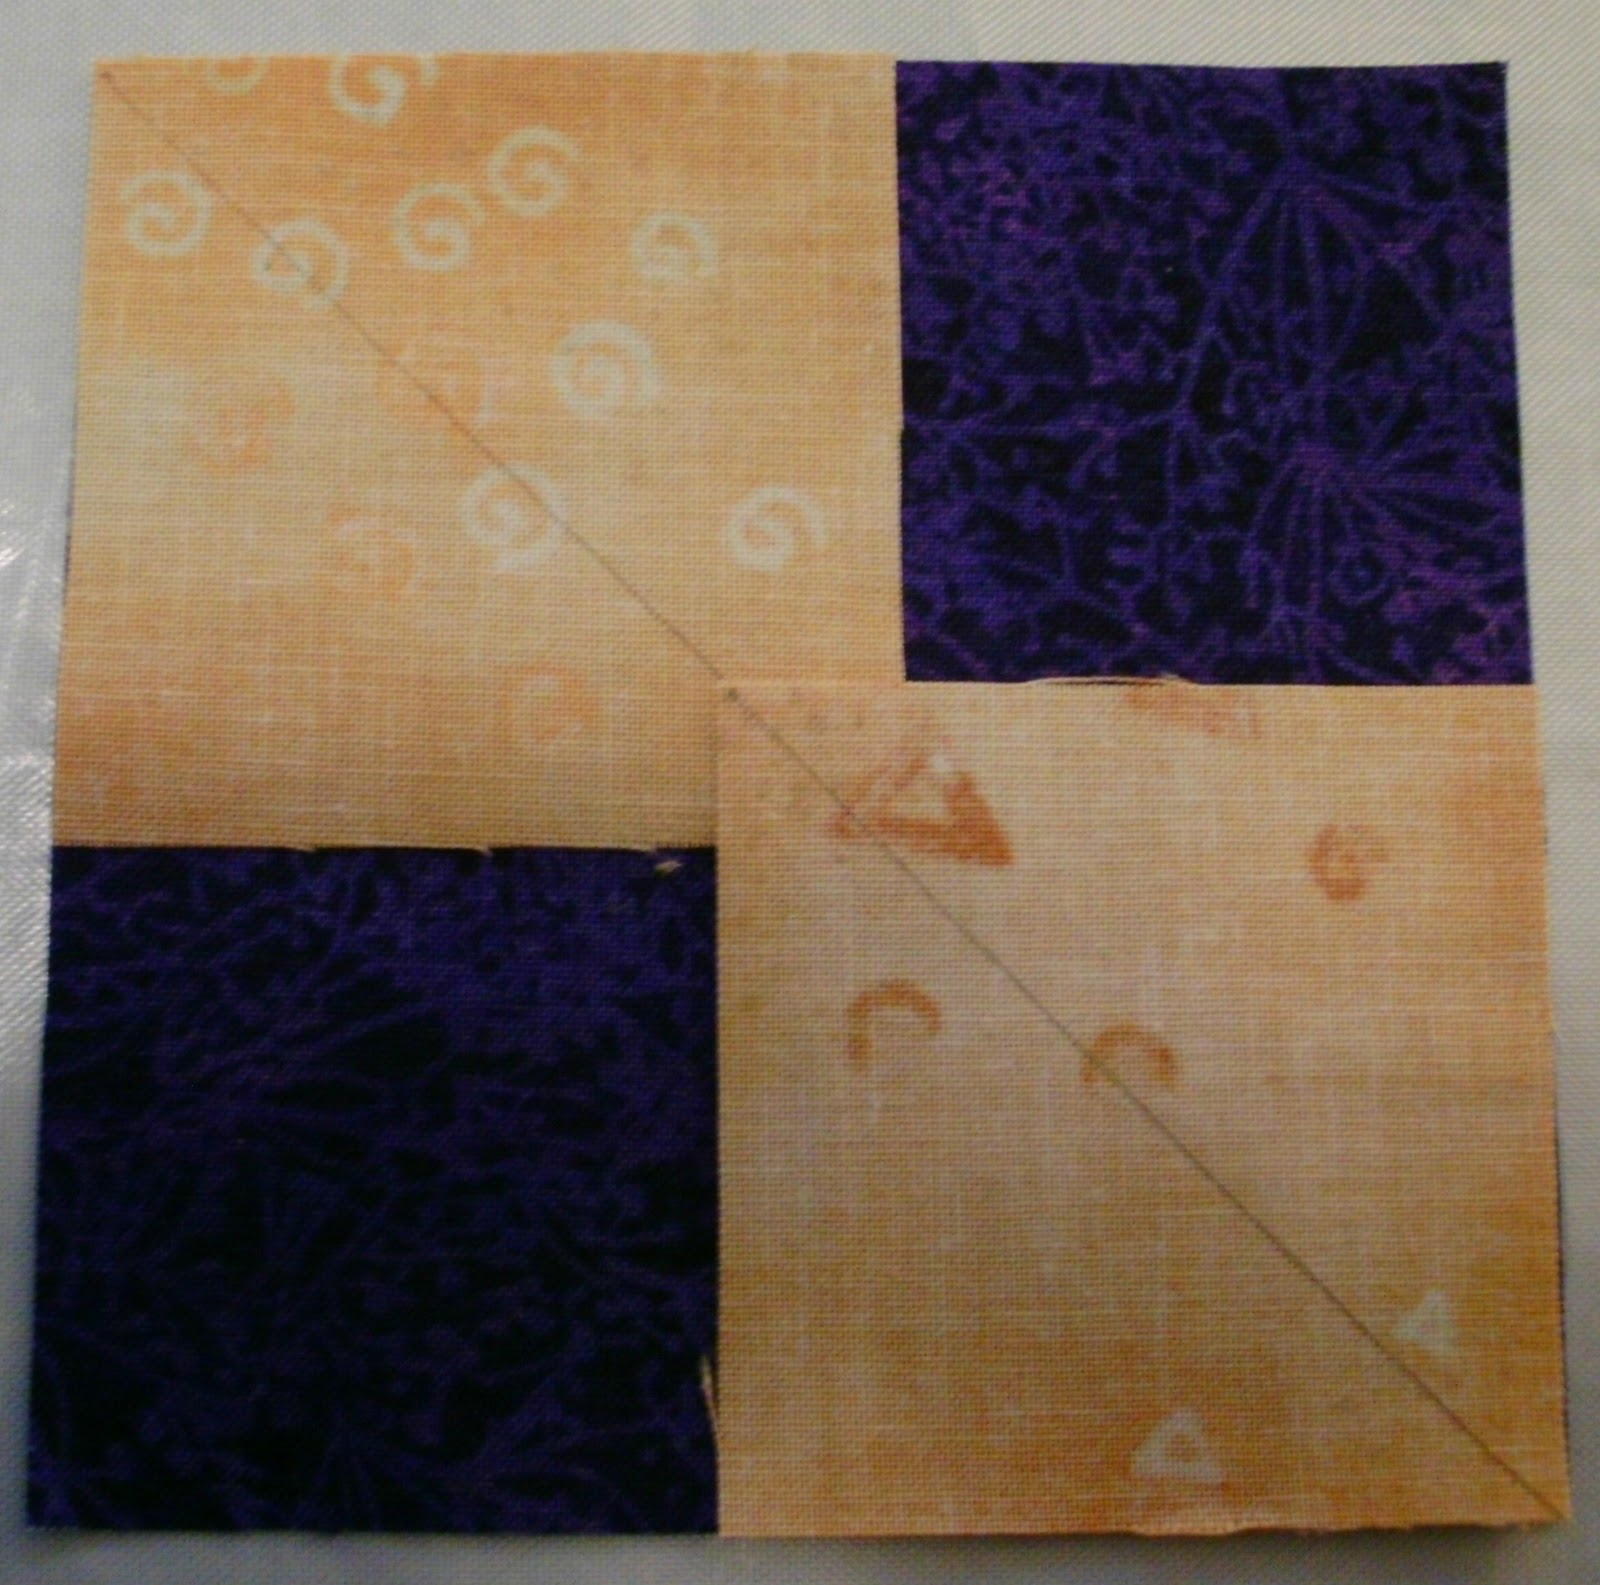
Step three: Position two of the smaller squares on opposite corners of the large square. You can pin these to make them more secure before stitching.
Step four: Stitch a scant 1/4" seam on either side of the lines you drew on the small squares:
Step five: Cut on the drawn diagonal line (between the two lines of stitching, then press out:
This will result in two units that should look like this:
Step six: Position another small 'sky' square on each of these units as shown below:
Step seven: Stitch a scant 1/4" seam on each side of the drawn lines on the small squares on each unit.
Step eight: Cut these units apart on the drawn lines.
Press out and trim off the 'dog ears'. This will result in four perfect flying geese units with no waste!
I've tried to make this tutorial as clear and concise as I can. Please let me know if there's anything you don't understand so I can try to make it more clear. Thanks, and I hope you enjoyed this.
Block 2 of There and Back Again
The sections aren't lined up exactly straight, but I didn't feel like unstitching them, so they will have to be a bit wonky.
I think it's really neat that they lined up the colors in the order of the dwarves' arrival at Bilbo's house - that's such a nice touch of detail from the book. Of course I don't recall which dwarves are which, and I'm not gonna dig out my copy to label them or anything, but it's still cool.
It's a very fun BOM, and I love paper-piecing. Usually I'm more precise about it, but i just don't have the energy to rip right now.
Done is better than perfect.
Etude de Cabines, my first truly modern quilt
While my EPP has progressed exponentially, and I'm enjoying it a lot - I had to struggle to finish another project - A modern quilt usin...
-
While my EPP has progressed exponentially, and I'm enjoying it a lot - I had to struggle to finish another project - A modern quilt usin...
-
First of all, I'd like to say that I didn't invent this technique - I was taught it by a friend in a group I belong to. It is by no...
-
The quilt is finished - all except the label. The label will be hand lettered in the bottom left corner of the quilt, in the light grey squ...