Pages

Sunday, November 20, 2011

What to do with all those flying geese?

Having given a tutorial for how to make no-waste flying geese, I've been asked what I do with all the geese I make this way. 

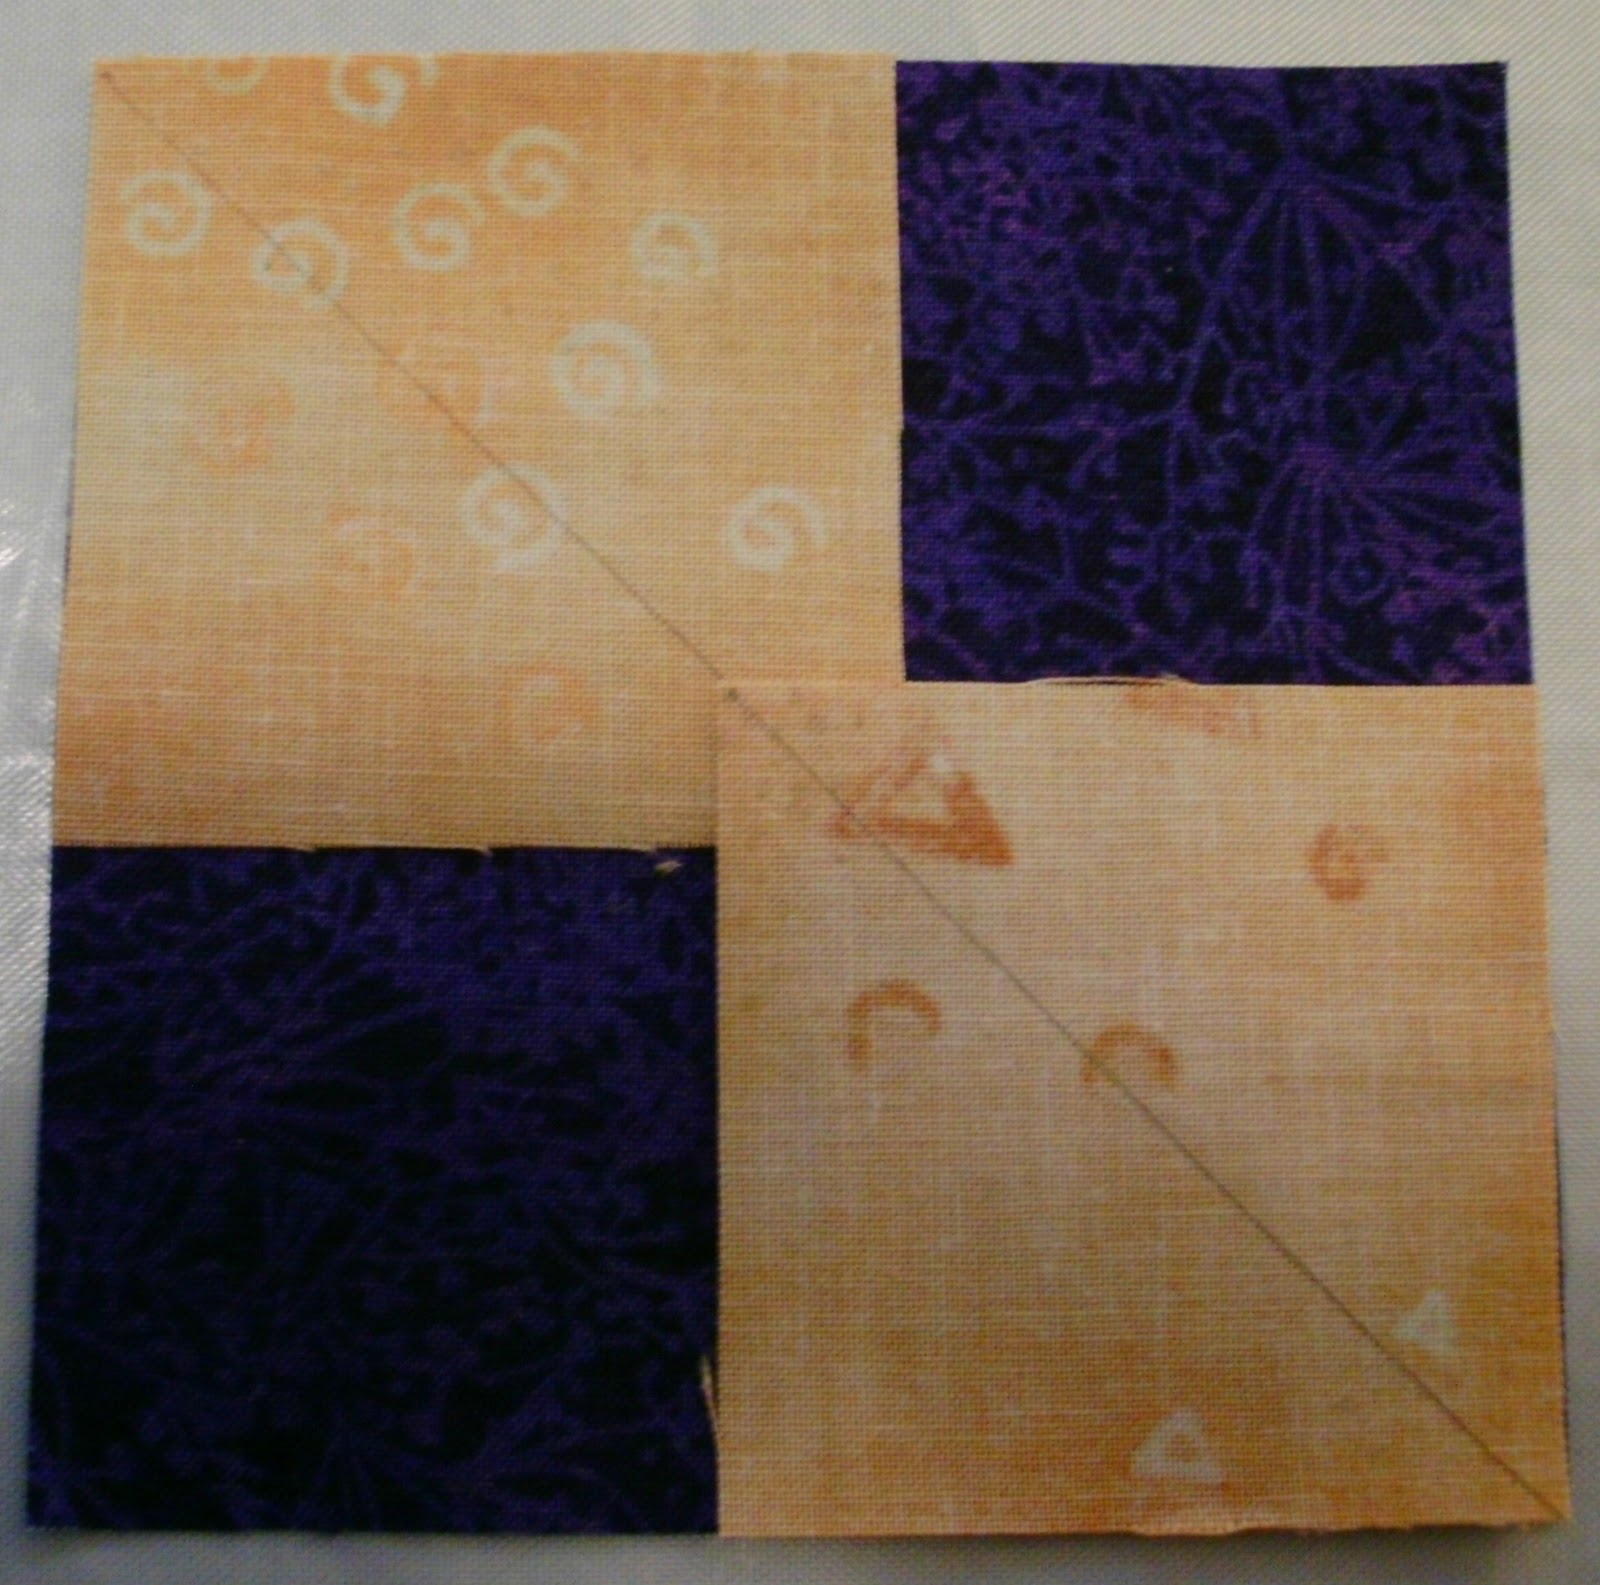
Well, lately I've been making geese for quilt me and some friends are making as a block exchange project.  My two blocks in the exchange are both comprised of flying geese.  The first one is just rows of little 1x2 inch geese.  I had to make 6 of the blocks, with 18 geese in each block, that means I had to make 108 geese to make this one block six times:

The second set of geese were a little larger to make a flying dutchman block, one of my favorite blocks of all time:

I think maybe I should have had the green and purple be a little further apart in value, because they both look almost black in the photo, but really, the purple geese form a pinwheel int he center and the other geese are dark green.  As with the other one, I had to make 6 blocks, so a lot of geese between the two.

Anyway - that's what I've done with the most recent sets of geese that I've made, all using the no-waste method I wrote a tutorial for in my last post.

You can see the whole quilt 'Ryokan' at  http://thimblecreek.com/details.php?prodId=2000&category=240&secondary=114&keywords= - it is a charming quilt.  It's also in issues 85 and 86 of Quiltmania Magazine, which is where I first found it. 

I do want to clarify something - I want to make it clear that I didn't invent that method, I was merely passing it along to anyone who hadn't seen it before, or trying to make it easy to do for someone who might have been confused by a previous tutorial.  I'm not sure any one person can claim the method as their own invention.  It is simply 'out there' in the world of quilting and I am just one more person making sure the word gets spread.

Wednesday, November 16, 2011

Perfect Flying Geese - A Tutorial

I had to make a bunch of flying geese for a new quilt project, so I thought I would share with you my method for making perfect flying geese with no waste.  It's very easy and only requires a little bit of math.  Since we're all quilters, we're all math literate, right?  Well, I barely am, and I can still do these, so it's pretty easy.

First, you need to determine the finished size of your geese.  Flying geese always finish at width = height x 2.  So if your geese finish up at 2" high, they will be 4" wide.  That part is pretty simple.  To make perfect flying geese, here's where the math comes in. 

Step one:  Cutting your fabric.

You need one square of your geese fabric that is Width +1 1/4".  So keeping with our example above of 2x4" geese, you will need one square of 4 + 1 1/4" = 5 1/4" square.

You need four squares of your sky fabric that are Height + 7/8".  Again keeping with our example of 2x4" geese, you will need four squares of 2 + 7/8" = 2 7/8" square.

Your components will look like this.  (By the way, that's the hardest part, the math, and it's all done...)


Step two: Draw a single diagonal line on the back of each of the small 'sky' squares:

Step three: Position two of the smaller squares on opposite corners of the large square.  You can pin these to make them more secure before stitching.

Step four: Stitch a scant 1/4" seam on either side of the lines you drew on the small squares:

Step five: Cut on the drawn diagonal line (between the two lines of stitching, then press out:


This will result in two units that should look like this:


Step six:  Position another small 'sky' square on each of these units as shown below:

Step seven: Stitch a scant 1/4" seam on each side of the drawn lines on the small squares on each unit.

Step eight: Cut these units apart on the drawn lines.

Press out and trim off the 'dog ears'.  This will result in four perfect flying geese units with no waste!

I've tried to make this tutorial as clear and concise as I can.  Please let me know if there's anything you don't understand so I can try to make it more clear.  Thanks, and I hope you enjoyed this.

Block 2 of There and Back Again

Block two of There and Back Again, The Hobbit-based BOM at Fandom in Stitches is out, and I made mine - mostly at the retreat - but I put the sections together at home. 


The sections aren't lined up exactly straight, but I didn't feel like unstitching them, so they will have to be a bit wonky.

I think it's really neat that they lined up the colors in the order of the dwarves' arrival at Bilbo's house - that's such a nice touch of detail from the book.  Of course I don't recall which dwarves are which, and I'm not gonna dig out my copy to label them or anything, but it's still cool. 

It's a very fun BOM, and I love paper-piecing.  Usually I'm more precise about it, but i just don't have the energy to rip right now.

Done is better than perfect. 

Sunday, November 13, 2011

Retreat at the beach

Went to Saylor's Sandcastle this weekend for a retreat.  The Sandcastle is actually a huge beachhouse between Ventura and Santa Barbara in Southern California.  The house is right on the seawall just above the ocean.  Sometimes at low tide there is a narrow beach below the house, but most of the time, the ocean comes right up to the sea wall.  It's a wonderful place to come and sew for four days.  The sea air and the sound of the surf are all conducive to a lovely relaxing time.

 I took several UFOs and one new project to work on at the retreat.  I completed 9 things while I was there.  I worked like a machine, I must say, but I enjoyed every moment of it.  Here are a few pictures of the retreat and the locale.  This is the back of the house... or the front - depending on how you look at it.  This is the side that faces the sea... All those wonderful windows, the better to watch the ocean and islands (more of the same on the top floor too):


Here is the view looking up the beach from the seawall:

Our workroom... there were two main sewing rooms, one upstairs and one downstairs... This is the downstairs room where I was sewing.  There were 24 of us total, sewing in 2 main rooms plus a couple of side rooms as well.  It was a quilting madhouse... but in a fun way:

Here are a couple of visitors who came to watch what we were doing,  We had several of their kin who stopped by on the seawall from time to time.  Really, I think they were just looking for handouts:

And one of our lovely sunsets on the beach:

It was a wonderful weekend, but despite the fact I could live in that house quite happily (couldn't afford it probably, but if I could, I'd love it)... I AM happy to be home, with husband, cats and dog.  They are apparently all glad to see me too.

Pics of retreat finishes forthcoming as soon as I take some... right now, all my newly finished things are still packed away.  I am quick to pack up to leave... unpacking takes me some time... No pressure to finish anytime soon... just whenever I get tired of the chaos of bags and boxes underfoot.  I'm so glad my husband is easygoing about such things.... bless him and his tolerant nature.

Wednesday, November 9, 2011

Going on retreat

I'm leaving for a 4 day quilting retreat tomorrow morning.  Me and friend Marlyn are driving up together to Carpinteria where we will visit a new-old quilt shop (new shop replacing old shop in same location).  Then we will meet friends for lunch before coming back down south to a lovely beach house right on the sea wall between Carpinteria and Ventura.

When we arrive, we will set up our machines and put the pedal to the metal and sew sew sew.  I can't wait!  24 of us are going to be there, all sewing (and eating and drinking... there's a little bit of everything going on at our retreats). 

I would say I'm going to miss my husband, kitties and dog, but I know I will be too busy to miss them terribly.  I have a feeling they will miss me more than I will miss them.  As always though, however much fun I have at retreat, going home is always a delight too. 

If the internet isn't working there, I'll be offline for 4 days - see you when I get home!  Have a great weekend!

Friday, November 4, 2011

UFO Update

I have to thank each and every one of you who posted here, on Stashbusters, or by email in response to my request for advice.  I have considered every possibility that was suggested and made a decision.

I am going to finish the quilt as is - octagonal in shape, without adding additional borders.  I did add a little applique in the setting triangles though because I thought they needed something.  So, here it is in its final form:
I think it needed those corner appliques especially if it will get used as a table topper of some kind.  Here is a closeup of the applique motif:

It may look a little odd but the colors match perfectly and the motif made me think of Paris, and the quilt is called 'Paris Cats'.  (There are cats in the blocks, just hard to see in the small photos).  Someday I will probably give this away as a wedding or housewarming gift.  I hope someone likes it.

To change the subject completely, the power supply on my computer died and I'm waiting for a new one in the mail (should be here Monday).  So I'm typing all this on a little netbook that I use normally just for travel.  If there are any typos it's because the keyboard on the netbook is really hard to use, so please excuse any errors.

Thanks for stopping by... Comments are always welcome...

Tuesday, November 1, 2011

UFO quandary

One of my recently found UFOs is this mystery quilt I made a few years ago.  I'm not sure why I stalled out on completion, but now I have no idea how I want to finish it. 

I strayed 'off-pattern' originally  by choosing to put the blocks on point and now I just don't know how to finish it... as is to be used as a table topper?  Makes little sense to me - I don't have a round table, and it's a bit big for a card table.  Not to mention, I'm not thrilled with the setting triangles I made to begin with.  I could add big triangles to the corners and make it square, but tbh, i'm not thrilled with the idea of making another square quilt.  They just aren't very useful - even as a lap quilt.  I'll never hang it in my house... I'm not a big fan of pink.  I have lots of fabrics that match the interior of the quilt, but all of them seem like they would be too much of one thing if I just added huge triangles of them onto the corners... I'm at a loss...


I think I will take the quilt and all the fabrics I have left to my quilt class tomorrow and ask there for ideas... but any ideas here would be welcome too...

Etude de Cabines, my first truly modern quilt

While my EPP has progressed exponentially, and I'm enjoying it a lot - I had to struggle to finish another project - A modern quilt usin...