First, you need to determine the finished size of your geese. Flying geese always finish at width = height x 2. So if your geese finish up at 2" high, they will be 4" wide. That part is pretty simple. To make perfect flying geese, here's where the math comes in.
Step one: Cutting your fabric.
You need one square of your geese fabric that is Width +1 1/4". So keeping with our example above of 2x4" geese, you will need one square of 4 + 1 1/4" = 5 1/4" square.
You need four squares of your sky fabric that are Height + 7/8". Again keeping with our example of 2x4" geese, you will need four squares of 2 + 7/8" = 2 7/8" square.
Your components will look like this. (By the way, that's the hardest part, the math, and it's all done...)

Step two: Draw a single diagonal line on the back of each of the small 'sky' squares:

Step three: Position two of the smaller squares on opposite corners of the large square. You can pin these to make them more secure before stitching.
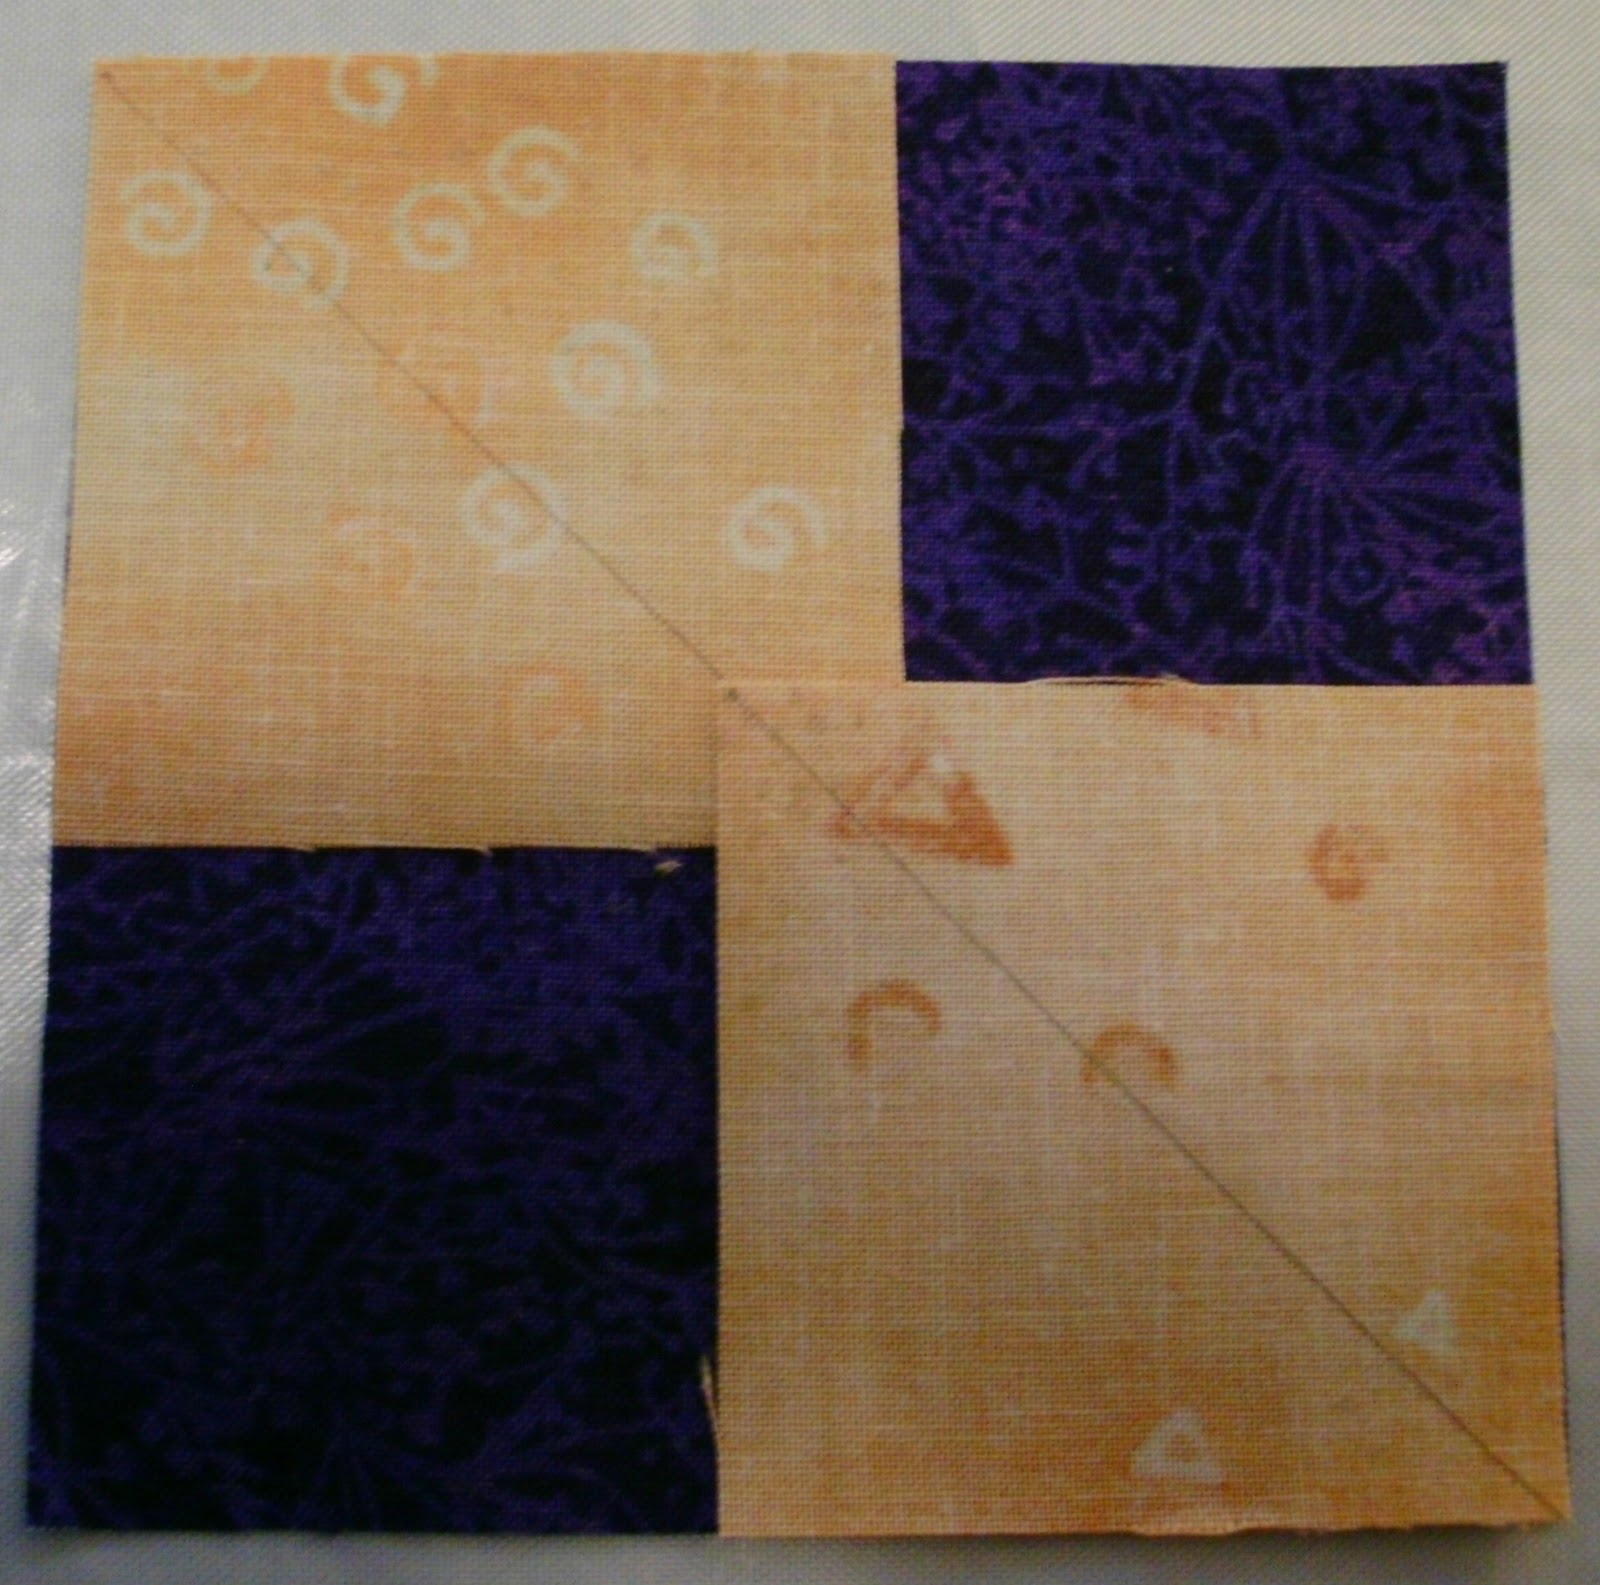
Step four: Stitch a scant 1/4" seam on either side of the lines you drew on the small squares:

Step five: Cut on the drawn diagonal line (between the two lines of stitching, then press out:

This will result in two units that should look like this:

Step six: Position another small 'sky' square on each of these units as shown below:

Step seven: Stitch a scant 1/4" seam on each side of the drawn lines on the small squares on each unit.

Step eight: Cut these units apart on the drawn lines.

Press out and trim off the 'dog ears'. This will result in four perfect flying geese units with no waste!

I've tried to make this tutorial as clear and concise as I can. Please let me know if there's anything you don't understand so I can try to make it more clear. Thanks, and I hope you enjoyed this.


Very nice tute. This is how I like to make mine.
ReplyDeleteI have seen this before;however you photos are very good and instruction clear. I especially appreciate the amount that needs to be added to each block in order to get the desired results. math - it's a killer!
ReplyDeleteLovely tutorial, Anne. Well written instructions, good contrast in the fabrics so that the pics are really helpful. I particularly like the "this is what it will look like" pics at the end of some steps. That's often what is missing in some new-to-me procedural tutorials. As a visual learner, I give you an A+ on your tutorial post. Keep up the good work.
ReplyDeleteVery nice directions! Thank you.
ReplyDeleteThanks Anne, I was looking for an easy way to make a bunch of these in a small size. This helps and the pictures make it even easier to understand.
ReplyDeleteExcellent, clear, concise instructions. Pictures are perfect. Two thumbs UP!
ReplyDeleteVery concise and nicely done.
ReplyDeleteGreat layout of all the steps. I really like how you explain the math part so I could make different sizes if I wanted to.
ReplyDeleteGreat Tutorial!!! I have earmarked for future reference!!
ReplyDeleteTHANK YOU! I've seen several tuts on Flying Geese and this is the first ONE that made clear sense to me. It's great!!
ReplyDeleteDung Beetle 52
Hola, me ha encantado tu explicación y como soy nueva en este arte me sera muy útil. Un abrazo desde Venezuela
ReplyDeleteGreat tutorial. Thanks so much for the link.
ReplyDelete